Apologies Gossamer, I said I'd get an album sorted for you and others to use for ideas for your own camper conversions. Also to Robin, whose Classic Camper forum I have also neglected for too long. I have the organisational skills of a cabbage, unfortunately!
The idea of getting the Carawagon moving by the end of 'next week,' i.e. last week, hasn't gone to plan - as usual. These inlet valve stem seals are proving to be something of a problem. Not only can I not get them in, but neither can the chaps at my local garage, engine specialist, or a classic motorbike nut that the engine place asked to have a go. We've all managed to at least get some of them seated in the grooves correctly, but they immediately pop back out upon insertion of the valves. I may well ultimately have the guides machined to take external seals as found on the 2¼ engines, as this whole business is getting a bit ridiculous, and I don't fancy doing it again! I've ordered a fresh set of the standard o-ring type, just on the off-chance that those from the head gasket set I've got aren't quite the right size, but I think I'm clutching at straws.
Anyway, enough of that negativity. I have at least managed to get a few things removed and tidied-up in preparation for getting it running, so here we go - bonnet off, work begins:

Engine bay as I left it back in October:

I'm going to set the exhaust valve clearances before trying to fire it up - access to the valve gear is much easier with the exhaust manifold removed. The brass nuts connecting it to the exhaust came away with no difficulty. There is a warranty card for a stainless steel exhaust in the history file, and judging by the lack of rust on the down-pipe, it appears to still be fitted. Bonus:

Exhaust manifold removed, also with alarming ease:

Next to come off is the engine block side cover, below the exhaust ports:

Side cover removed - there was only the faintest trace of oil left on the reverse, showing how thoroughly it's drained to the sump in the time the vehicle has been stood (twelve years, to re-cap!):

Exhaust valve gear exposed. I haven't adjusted anything yet; I'll do that when I come to re-assemble the top-end:

Inside to access the clutch pedal box bolts, which proved to be the first to offer any resistance to removal, so far:

Clutch master cylinder. I managed to shoot myself in the chest with some jet-black fluid by accidentally compressing it when manoeuvring the pedal box out:

Pedal box removed:


I stopped there and brought the removed parts home with me to be tidied-up. Much de-greasing, wire-wheeling and spraying ensued. I just have the pedal box left to sort before taking them back to go back on.
Exhaust manifold painted with Plasti-Kote Wood Stove paint - thanks to Calum for that recommendation!:

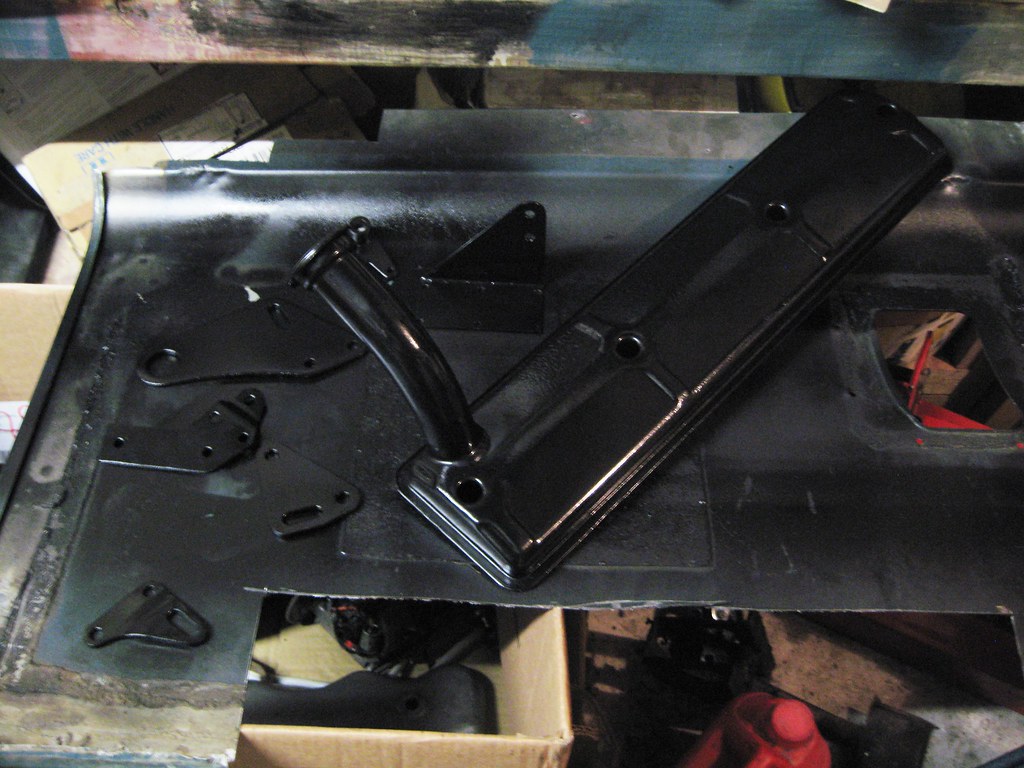
Engine side cover, hydraulic fluid reservoir bracket, and various cylinder head brackets painted-up:
That's that for now. The next update will hopefully be to say that the inlet valve stem seals are finally in and the head's back together, so at the current rate, I'd suggest checking this thread somewhere around March 2028.
Phil